📌 Key Takeaways
A clean grease trap means nothing without five years of signed manifests proving where the waste actually went.
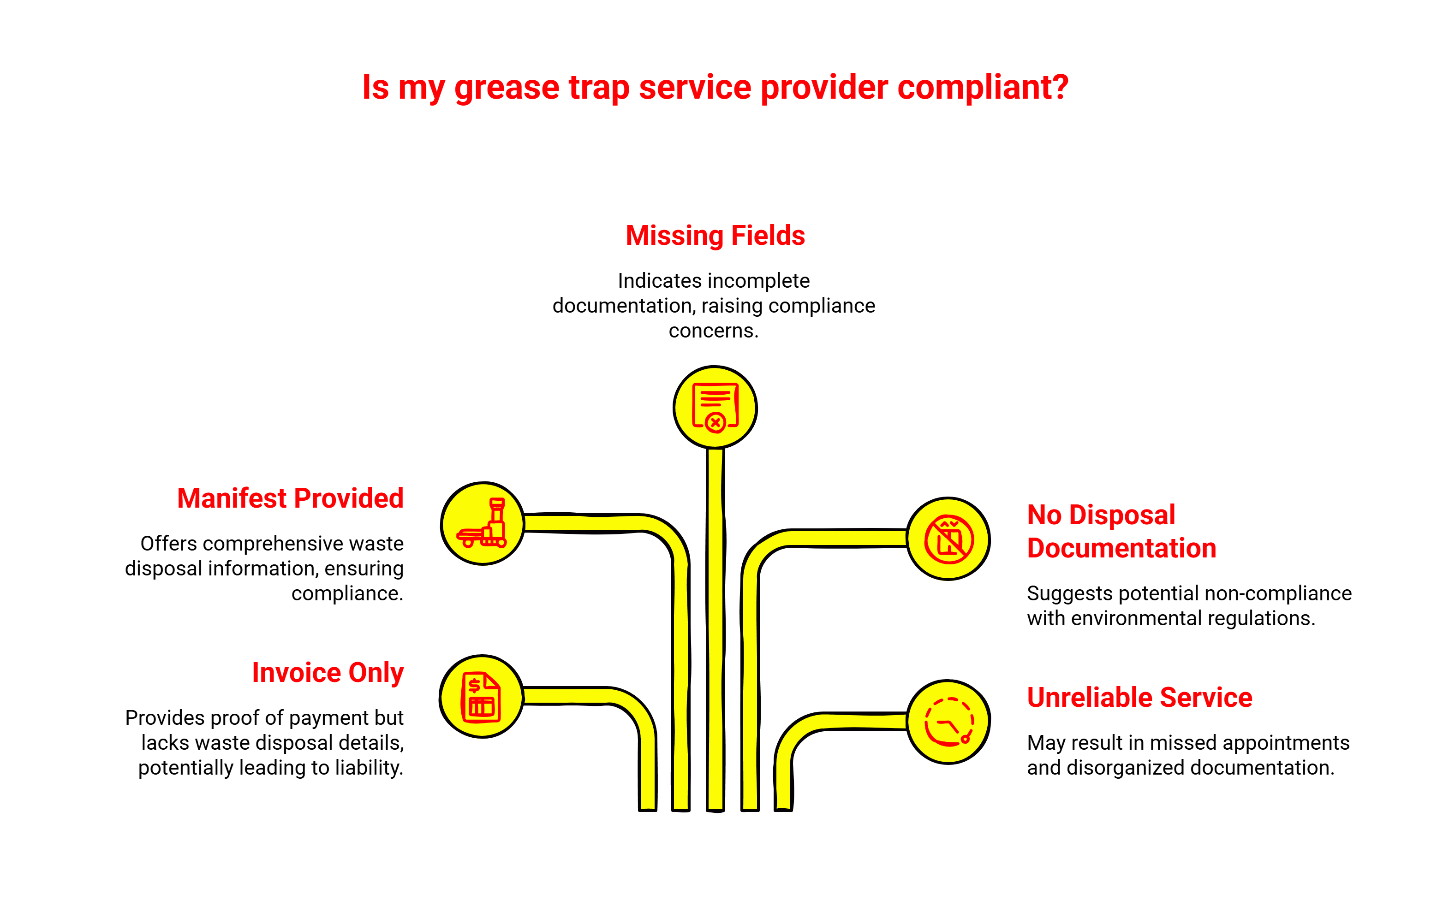
- Manifests Beat Invoices: An invoice shows you paid for service, but only a manifest proves the waste reached an approved disposal site—and that’s what inspectors require.
- Keep Five Years On-Site: Houston inspectors can show up unannounced and ask for manifests going back five years, so keep a tabbed binder ready to hand over in under two minutes.
- Run Monthly Self-Checks: Verify your permit is current, count your manifests for gaps, and confirm your trap is accessible before an inspector discovers problems for you.
- Your Hauler Creates Your Liability: If your vendor can’t provide proper manifests with disposal facility stamps, their cheap price is actually creating legal exposure for your restaurant.
- Fines Stack Up Fast: Citations range from $250 to $2,000 per violation, and missing paperwork counts as a violation even if your trap is spotless.
Your manifests are the tax return for your waste—keep them organized or pay the price.
Houston restaurant owners and managers handling FOG compliance will find a complete audit preparation system here, guiding them into the detailed documentation steps that follow.
~ ~ ~ ~ ~ ~ ~ ~ ~ ~ ~ ~ ~ ~ ~ ~ ~ ~ ~ ~ ~ ~ ~ ~ ~ ~ ~ ~ ~ ~ ~ ~ ~ ~ ~ ~ ~ ~ ~ ~ ~ ~ ~ ~ ~ ~ ~ ~ ~ ~ ~ ~ ~ ~
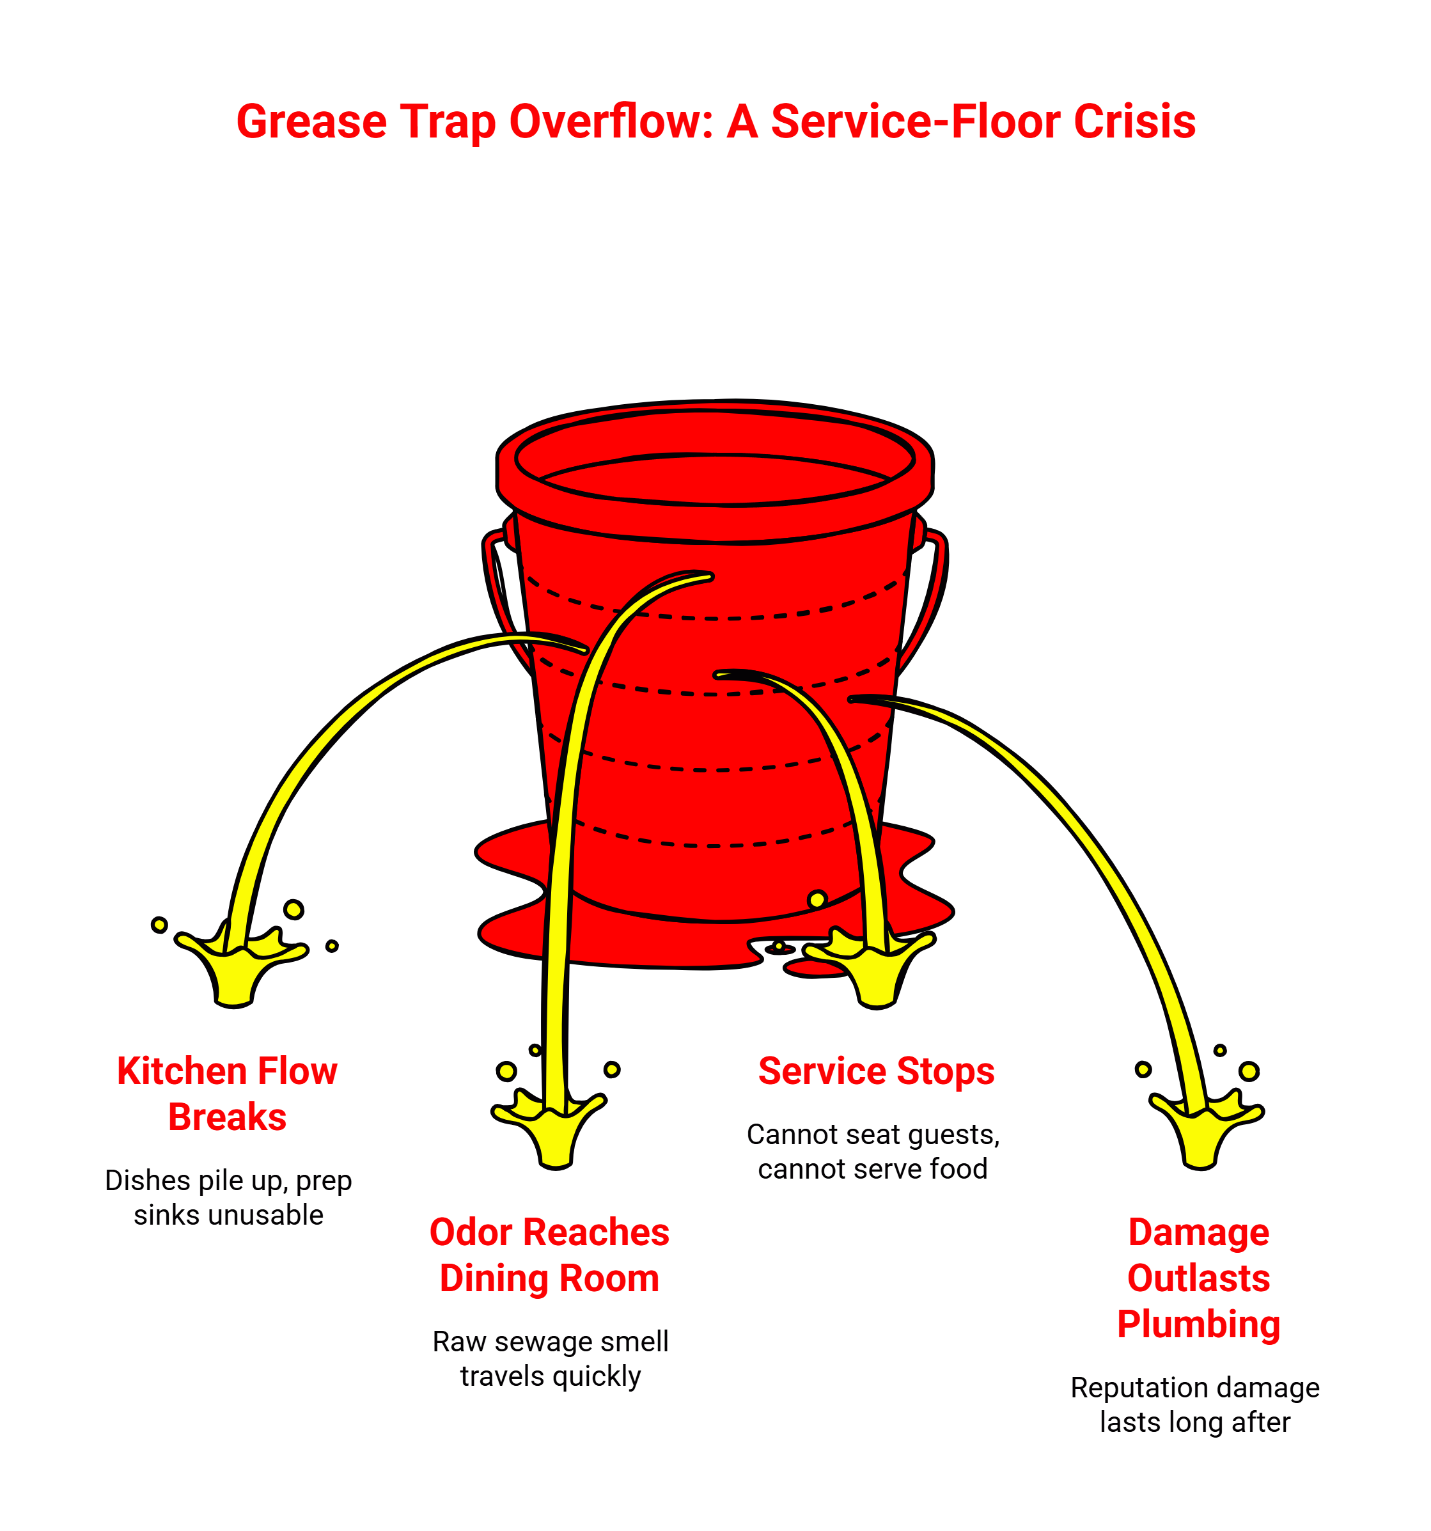
The inspector’s clipboard appears during lunch rush. No warning. No appointment.
You’re wiping down the pass, calling orders, juggling a vendor delivery at the back door—and now someone in a city polo is asking for five years of paperwork.
That moment of uncertainty is exactly what separates restaurants that pass FOG audits from those that receive citations. And here’s what most owners discover too late: a clean grease trap is only half the job. Without a clean, complete paper trail of manifests, you’re exposed to audit failure, fines ranging from $250 to $2,000 per violation, and potential business disruption.
Think of your manifests like the tax return for your waste. When the city audits, these documents prove compliance—not just that you paid someone, but that the waste actually went where it was supposed to go. This guide will show you exactly what inspectors look for, which documents you need on hand, and how to build a simple filing system that turns every pump-out into a legal defense file.
What a City of Houston FOG Audit Really Checks
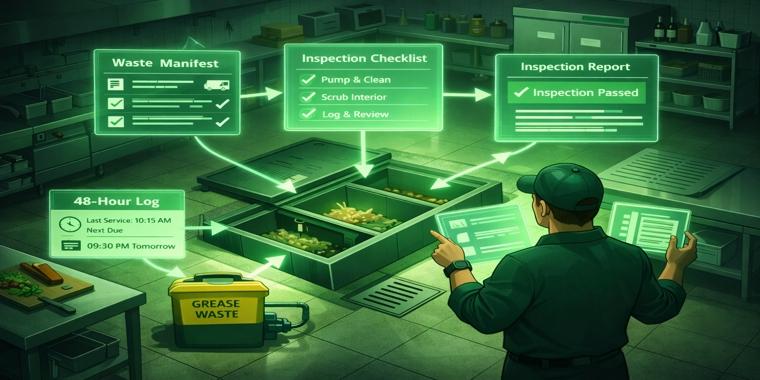
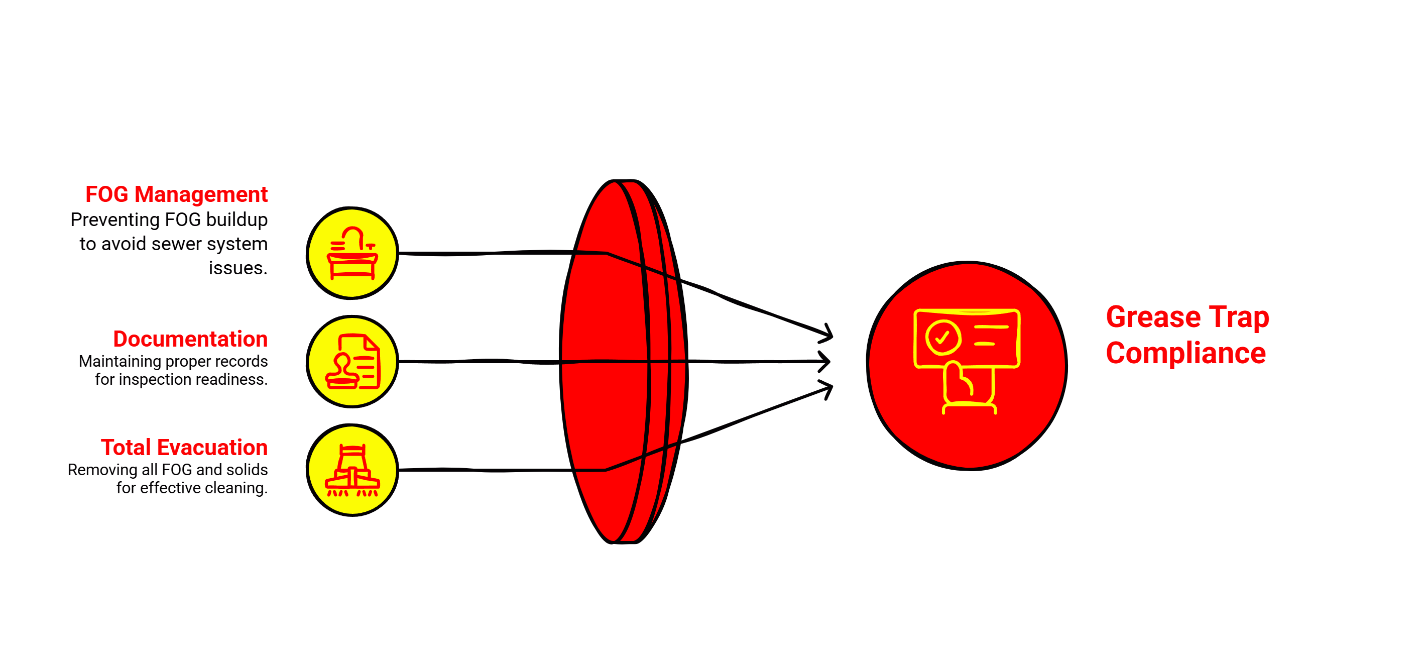
A FOG audit verifies two things: your paper trail and your site readiness. Inspectors verify that fats, oils, and grease (FOG) from your kitchen are not entering the sewer system and causing blockages that affect the entire city infrastructure.
For the paper trail, inspectors need proof that your grease trap has been properly cleaned and that the waste was disposed of legally. This means manifests—not just invoices—going back five years. They’ll also check your current FOG permit and any maintenance logs you keep.
For site readiness, they’ll physically inspect your grease trap and sample well to ensure your discharge meets city parameters. They’ll check that access points are clear, lids are reachable, and nothing is blocking the trap. Your dumpster area and rendering oil bin get checked too.
All establishments with interceptors will be inspected on a routine basis or if a complaint is reported, with no advance notification. This means you need to be audit-ready at all times—not just when you think someone might show up.
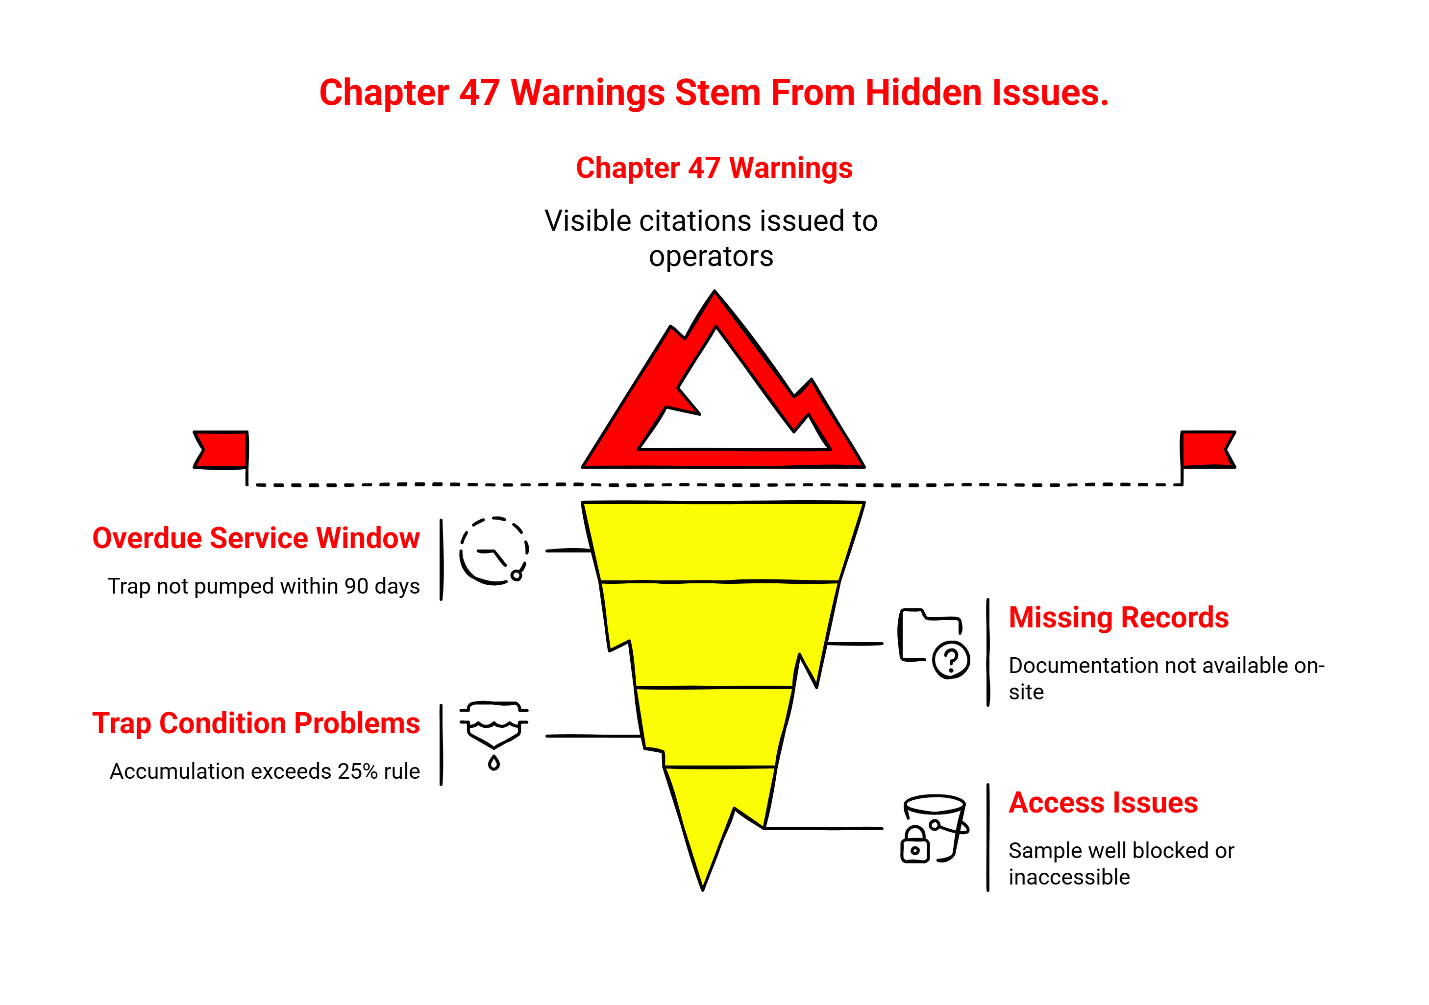
The stakes are real. Non-compliance with Chapter 47 can lead to a Notice of Violation or citation for each offense committed. Citation fines range from $250 to $2,000 per violation. Beyond fines, repeated violations can escalate to administrative orders, and in severe cases, water service termination.
Step 1: Confirm You’re Under City of Houston Chapter 47
Before you build your compliance system, verify whose rules apply to your restaurant. City of Houston regulations under Chapter 47 apply to establishments within the incorporated city limits. If you’re in a suburban area served by a Municipal Utility District (MUD) or another jurisdiction, different rules may apply.
Here’s how to verify your jurisdiction quickly:
Check your utility bills. If your water bill comes from the City of Houston, you’re almost certainly under Chapter 47 jurisdiction.
Review your lease or property documents. Commercial leases typically specify the jurisdiction. Your landlord should be able to confirm whether the property falls within Houston city limits.
Look at previous inspection notices. If you’ve had a FOG inspection before, the paperwork will identify which agency conducted it.
Call the Houston Public Works FOG Program directly. They can confirm whether your address falls under their jurisdiction. The program office is located at the Houston Permitting Center at 1002 Washington Ave, Houston, TX 77002.
If you’re outside Houston city limits, contact your local utility district or health department to understand which regulations apply. The requirements may be similar, but the specific documentation and permit processes can differ.
This guide focuses specifically on City of Houston requirements. If you determine you’re under a different jurisdiction, verify their specific rules before building your compliance system.
The Audit Survival Kit: What Inspectors Ask to See
When an inspector arrives, they need specific documents immediately available. Not “somewhere in the office.” Not “I can email those to you later.” Right now, in their hands.
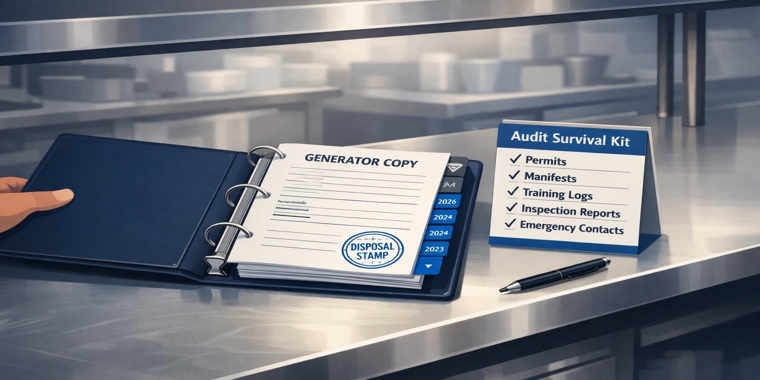
Here’s your Audit Survival Kit—the exact packet you should keep assembled and accessible at all times:

Five Years of FOG Manifests (Organized and Immediately Available)
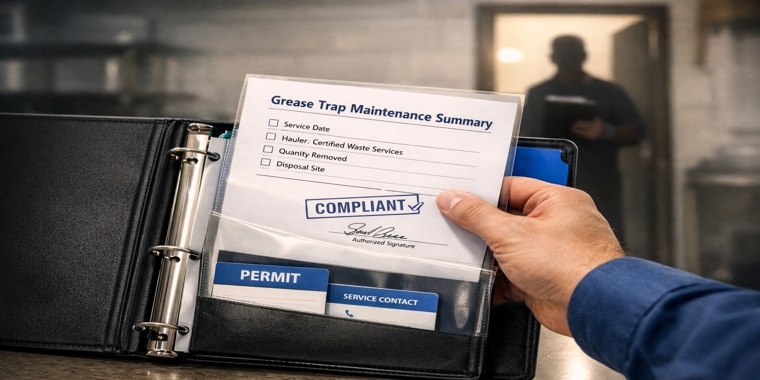
During an inspection, the investigator will need the following documents: Original Fats, Oils, and Grease permit, plus yellow and white copies of waste manifests for the past five years.
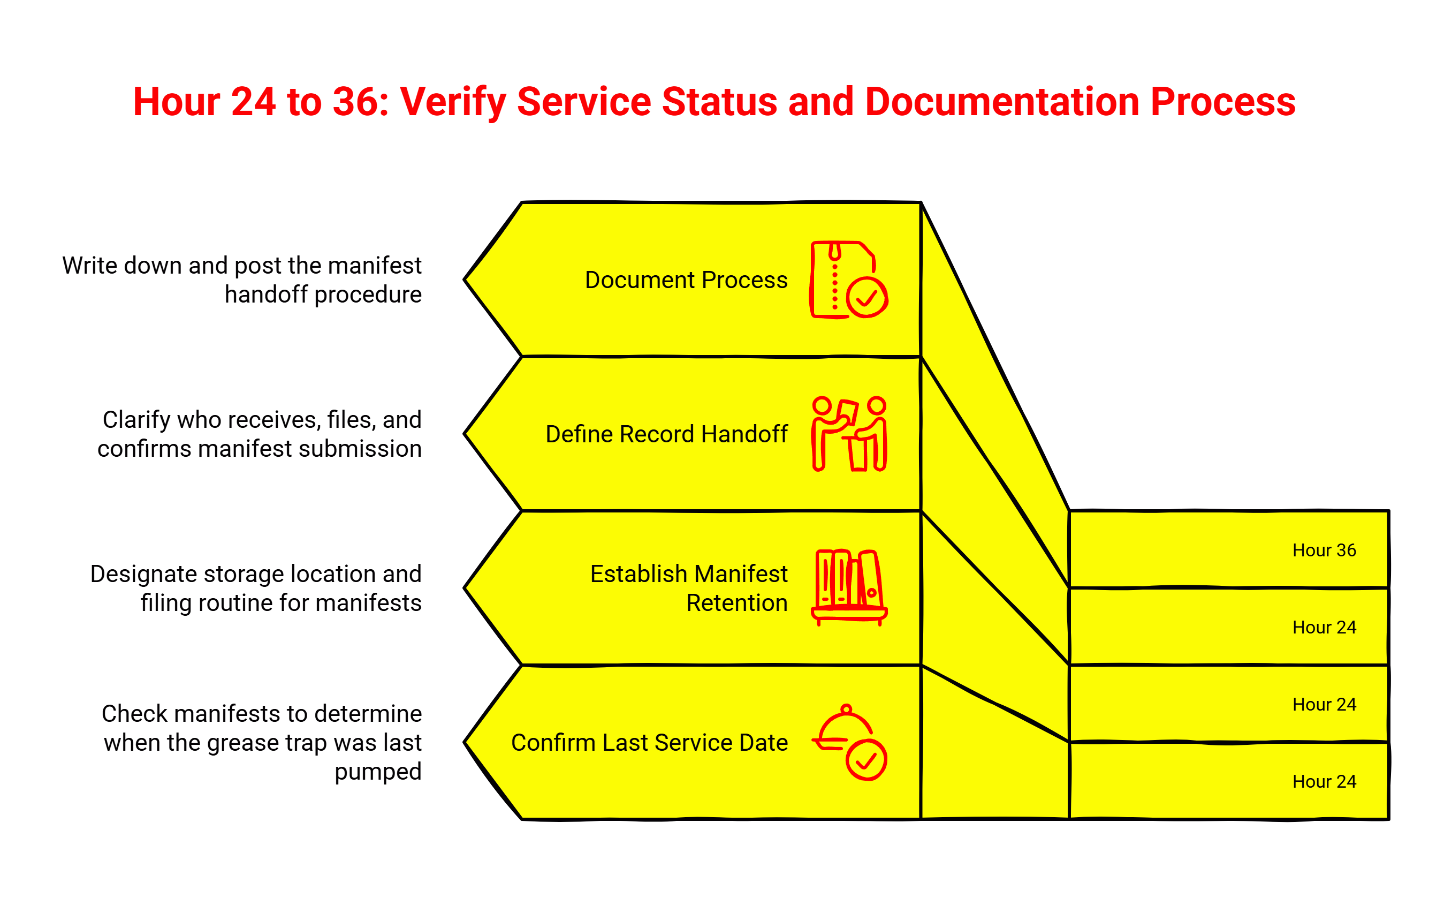
Organize these by year with the most recent on top. Each manifest should be signed and date-stamped by the disposal facility. Gaps in your manifest history raise immediate red flags.
Current FOG Permit or Registration
Your permit should be posted in public view at your facility. Keep a copy in your audit binder as well. Permits must be renewed annually, so verify yours is current.
Maintenance Log and Service Schedule
A simple log showing the date of each service, what was performed, and who performed it. This demonstrates you’re maintaining a regular cleaning schedule—not just cleaning when problems arise.
Proof Your Hauler Is Legitimate
Your manifest should include chain-of-custody information showing who picked up the waste and where it was delivered. All manifests must be signed and date-stamped by the disposal site. If your vendor only provides receipts without this disposal verification, that’s a compliance gap.
Physical Readiness Verification
While not a document, inspectors will check that your grease trap and sample well are accessible. Lids should be easily reachable, with no equipment, pallets, or debris blocking access.
Organizational Standard: Create a simple tabbed binder. First tab: current permit. Second tab: current year manifests. Subsequent tabs: previous years going back five years. Final tab: maintenance log. When an inspector arrives, you hand them the binder. Done.
Invoices Aren’t Manifests: The #1 Paperwork Mistake That Fails Audits
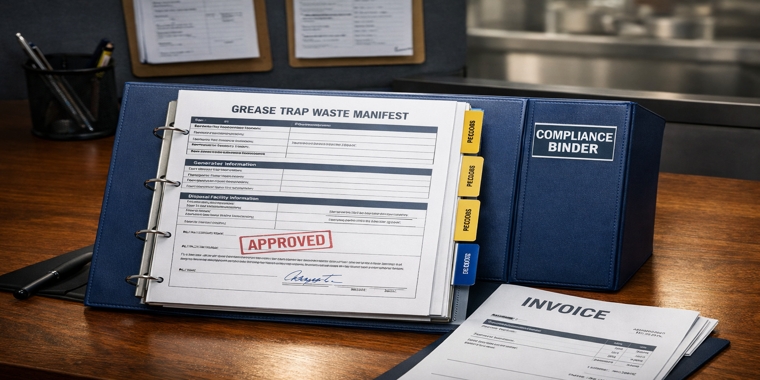
An invoice proves you paid for service. A manifest proves the waste was removed and legally disposed of at an approved facility. These are fundamentally different documents—and inspectors require manifests, not invoices, for compliance verification.
Here’s why this matters: without a manifest, there’s no chain-of-custody documentation. The city has no way to verify that the grease from your trap actually went to an approved disposal site rather than being dumped illegally. Under Houston’s regulations, you—the restaurant owner—bear responsibility for proper disposal even though a third party hauled it away.
The distinction is simple but critical: an invoice without a manifest is liability, not compliance.
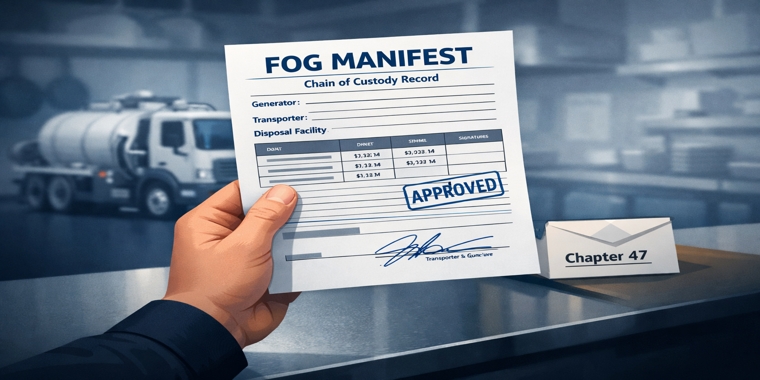
What a Compliant Manifest Should Include
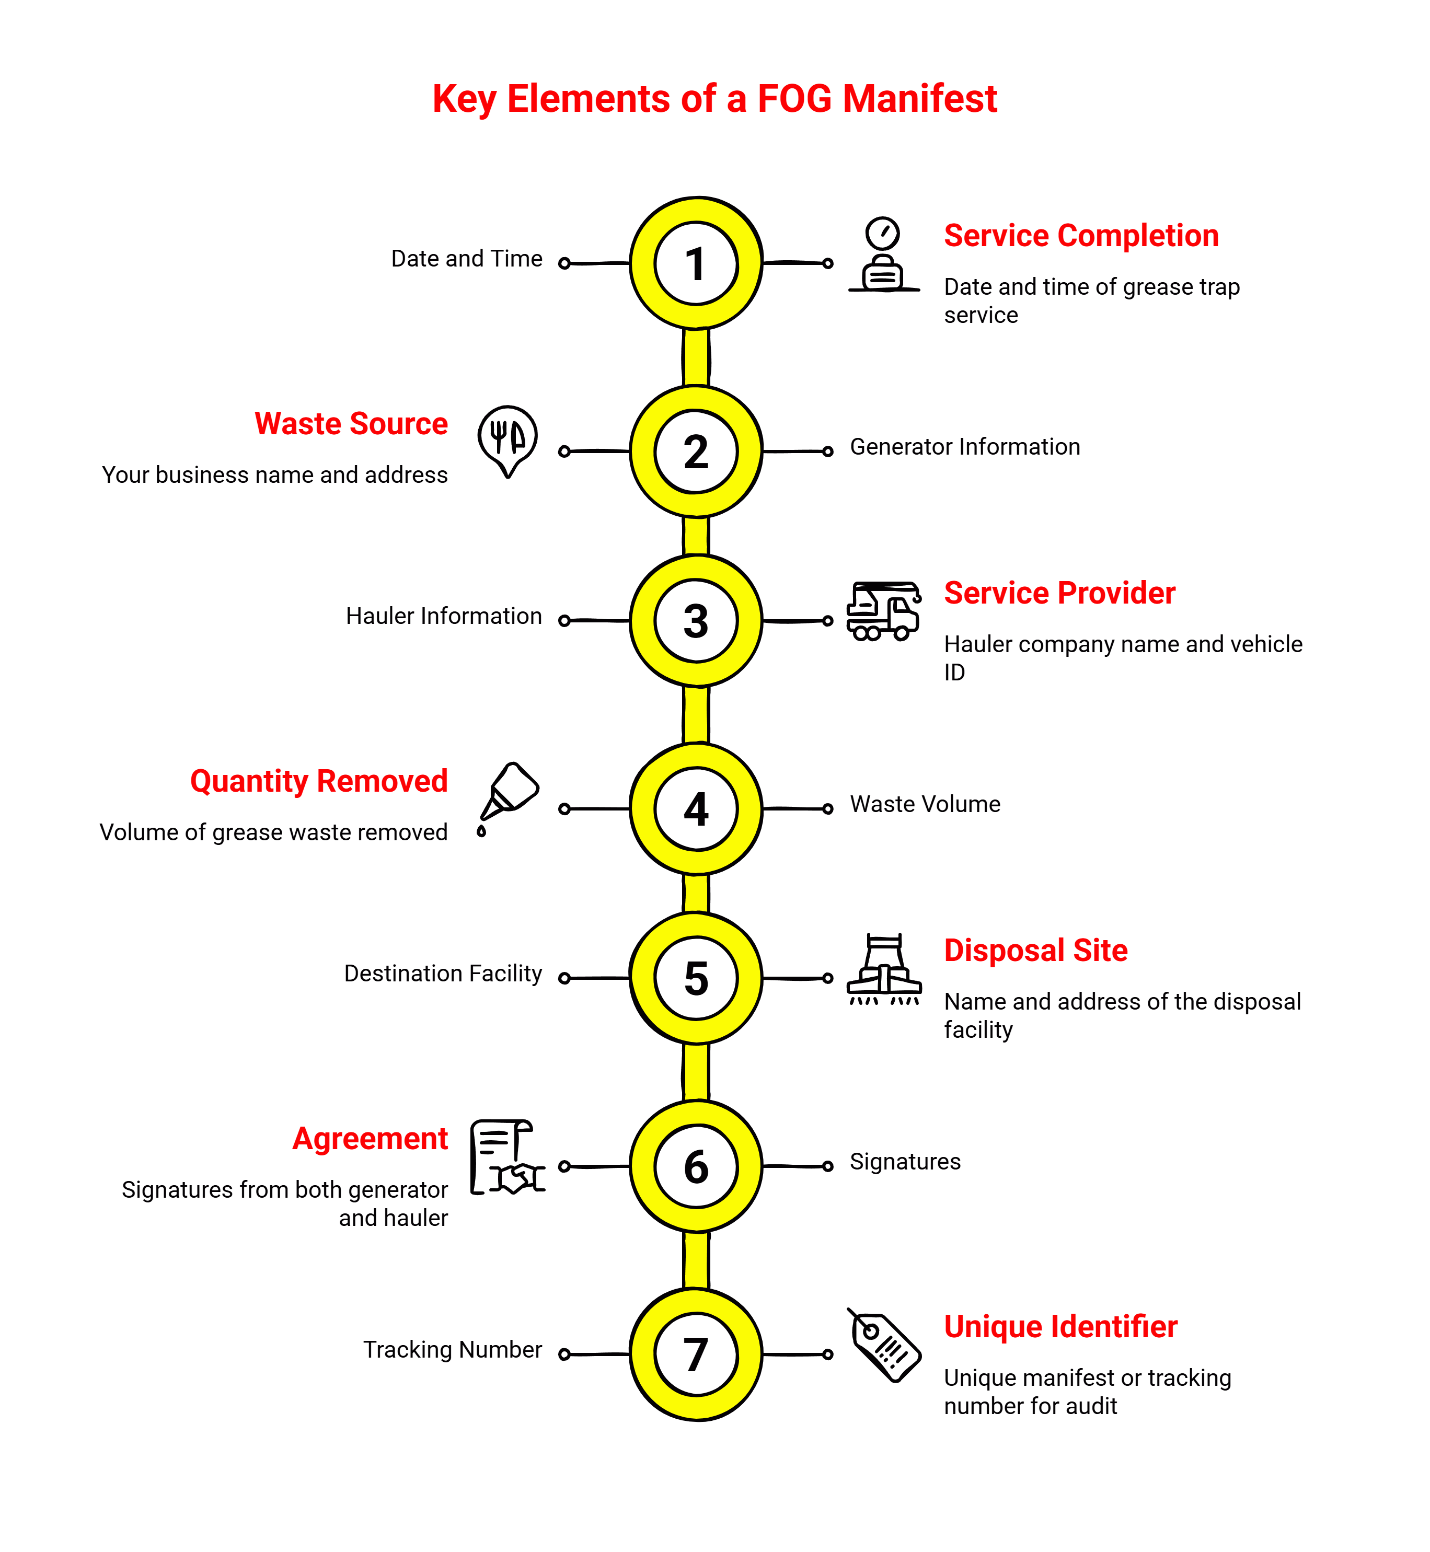
Inspectors look for specific fields that establish chain of custody. While exact formats may vary, a proper City of Houston manifest typically includes:
- Generator information: Your restaurant name, address, and permit number
- Transporter information: The hauling company’s name, permit number, vehicle ID, and driver signature
- Waste details: Type of waste, volume removed, date and time of service
- Disposal facility information: Name and address of the receiving facility
- Disposal verification: Signature and date stamp from the disposal facility confirming receipt
The disposal facility stamp is critical. It closes the chain of custody by confirming the waste actually arrived where it was supposed to go.
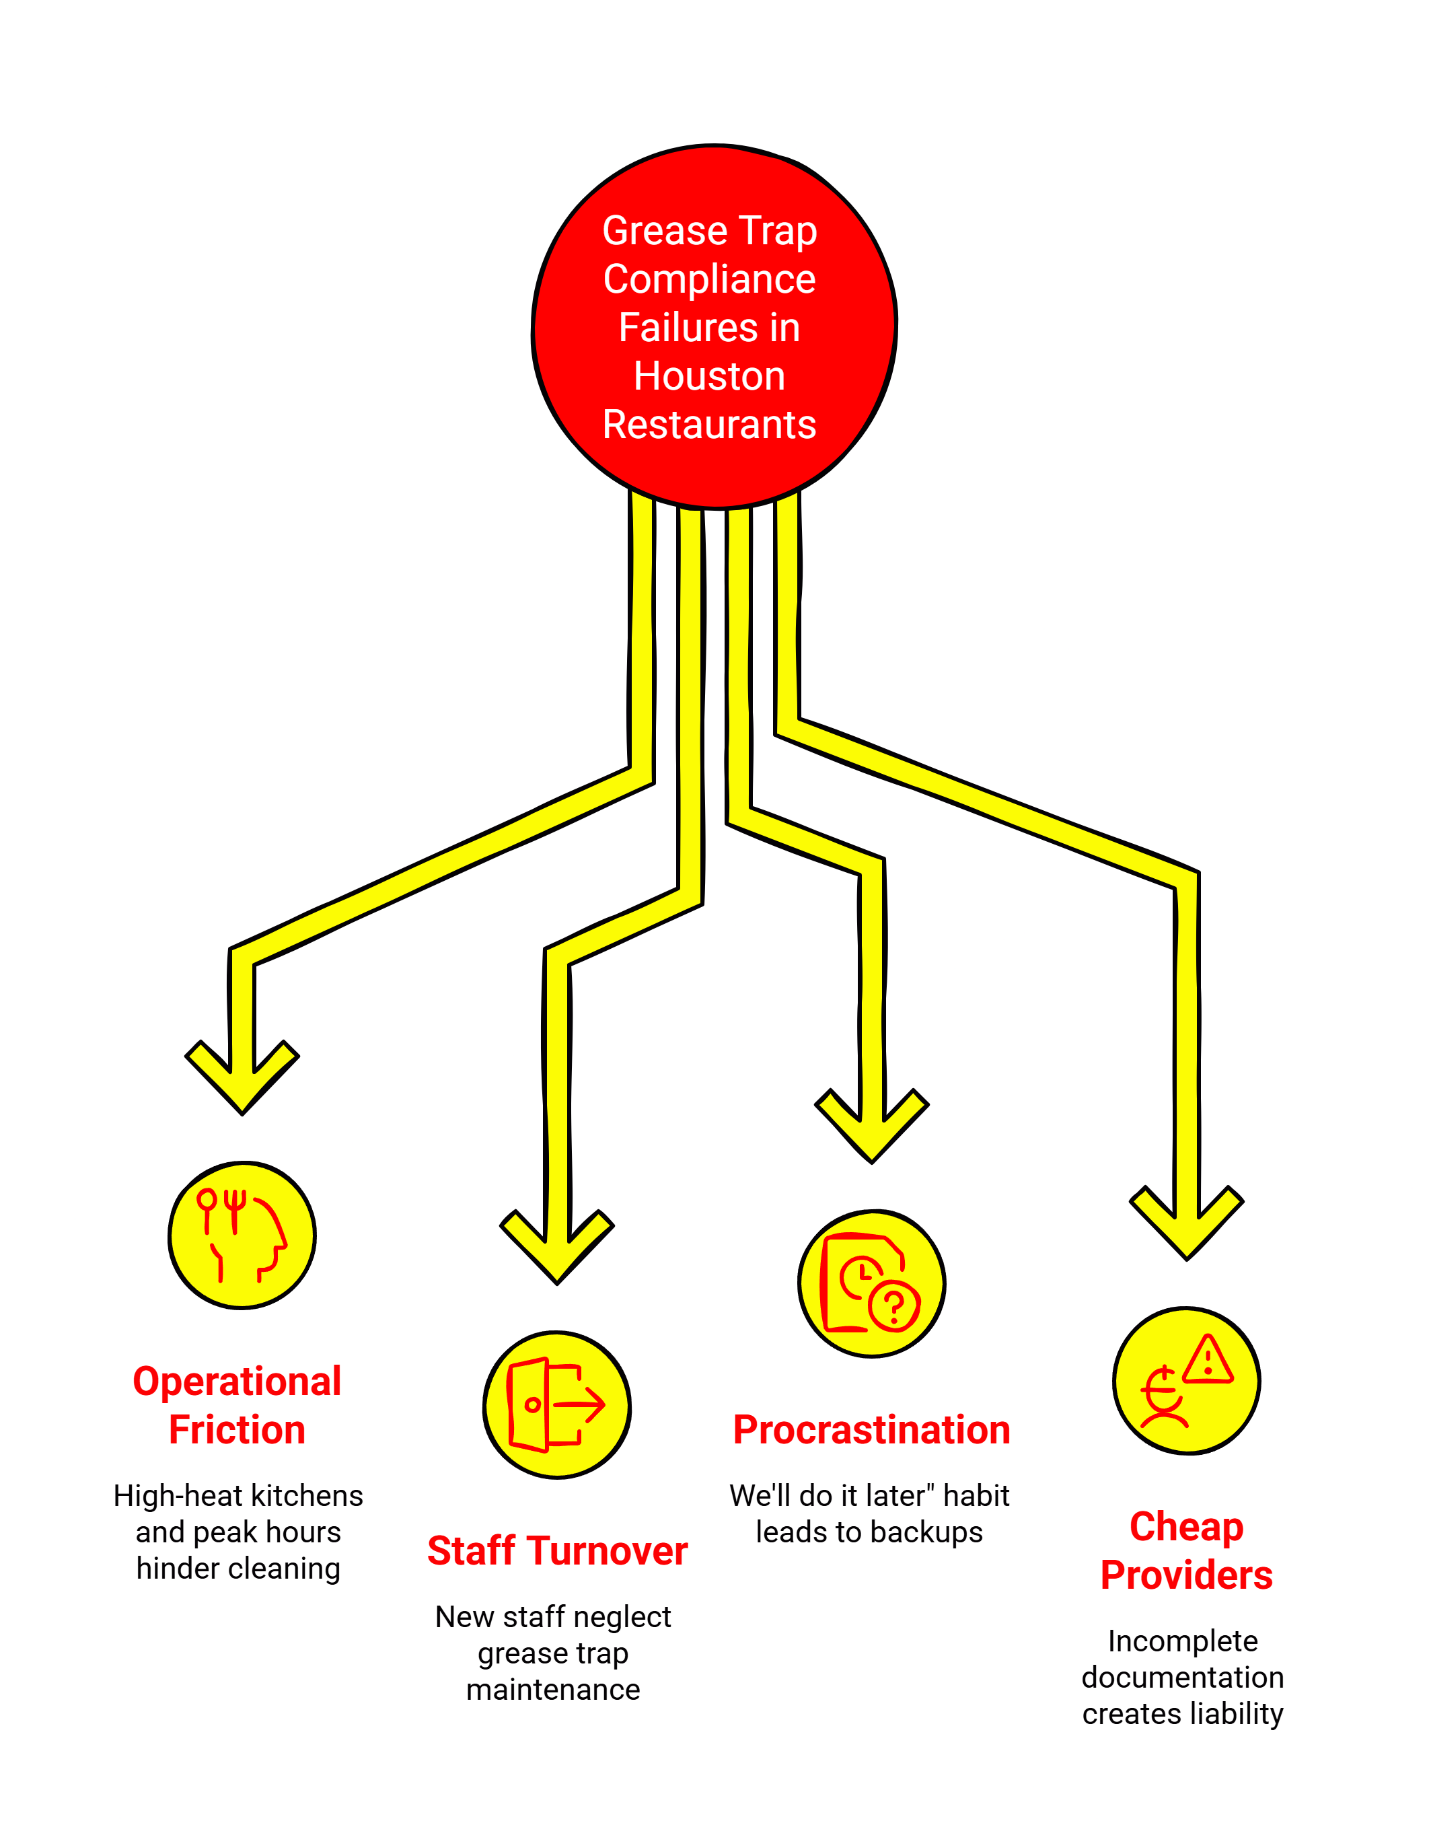
Why “Pump-and-Run” Vendors Create Liability
Some vendors charge less because they skip the documentation. They pump your trap, hand you a receipt, and leave. You’ve paid for service—but you have no proof of legal disposal.
If that waste gets dumped illegally, the liability traces back to your restaurant. The city doesn’t care that you thought you hired a legitimate company. Without proper manifests, you can’t prove compliance.
For more detail on this critical distinction, see our guide on manifest vs. invoice differences.
If you’re currently only receiving invoices from your grease trap vendor, fix it now. Call and specifically request City of Houston-approved manifests with every service. If they can’t provide them, find a vendor who can.
Build a “No-Panic” Filing System
The goal is simple: when an inspector arrives, you spend less than two minutes retrieving every document they need. No digging through boxes. No “let me check the back office.” No calling your accountant.
The Physical Binder System
Get a 3-inch binder with tabbed dividers. Label the tabs:
- Current Permit – Your valid FOG permit, visible immediately when opening the binder
- 2026 – Current year manifests, newest on top
- 2025 – Previous year
- 2024 – Continue back five years
- 2023
- 2022
- 2021
- Maintenance Log – Running log of all service dates and notes
Store this binder somewhere accessible to managers—not locked in a filing cabinet that only you have the key to. If an inspector arrives while you’re off-site, your team needs to produce these documents.
The 10-Minute After-Service Routine
Every time your grease trap gets serviced, complete these steps before the driver leaves:
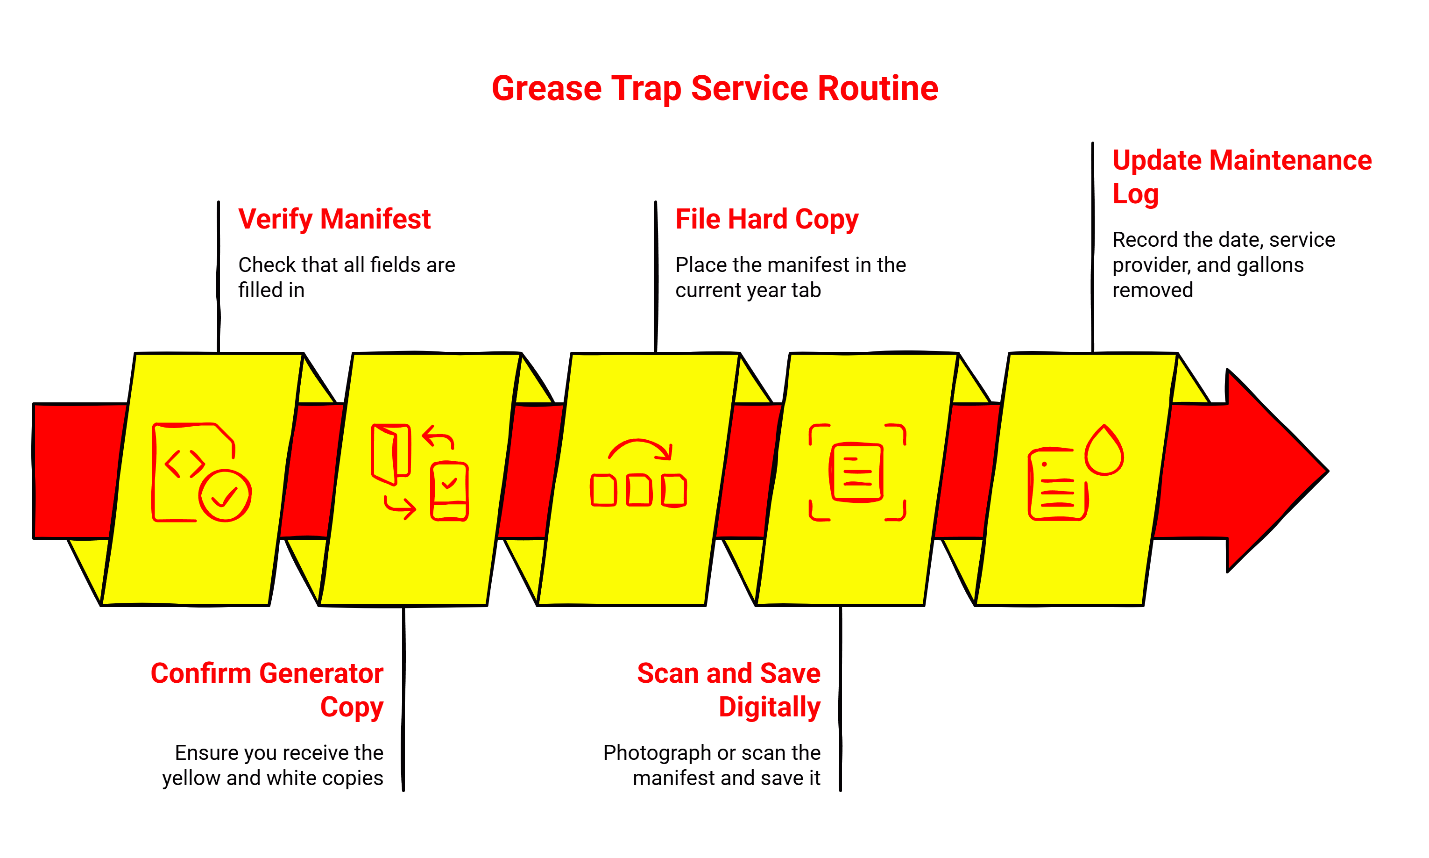
Step 1: Verify the manifest is complete. Check that all fields are filled in—your info, the transporter’s info, waste volume, and date. Don’t let the driver leave without completing the form.
Step 2: Confirm the generator copy is yours to keep. You should receive the yellow and white copies. The driver keeps other copies.
Step 3: File the hard copy immediately. Walk it to your binder and put it in the current year tab. This takes 30 seconds and prevents the “I’ll file it later” trap that leads to lost documents.
Step 4: Scan and save digitally. Use your phone to photograph or scan the manifest. Save it to a shared folder your team can access. Name the file using the format: [YYYY-MM-DD][Provider][Volume]_manifest.pdf
Step 5: Update your maintenance log. Note the date, service provider, and gallons removed. This takes one minute and creates a running record.
Filing the hard copy immediately ensures document integrity for the five-year retention window.
Digital Backup Best Practices
Physical copies are required for inspection, but digital backups protect you if documents are lost, damaged, or destroyed. Keep copies in cloud storage (Google Drive, Dropbox, or similar) with access shared among key managers—owner and GM at minimum. This also helps if you need to retrieve older records that might be stored off-site.
For more on building a bulletproof documentation system, see How to Organize Your Grease Trap Documentation to Survive a City Audit.
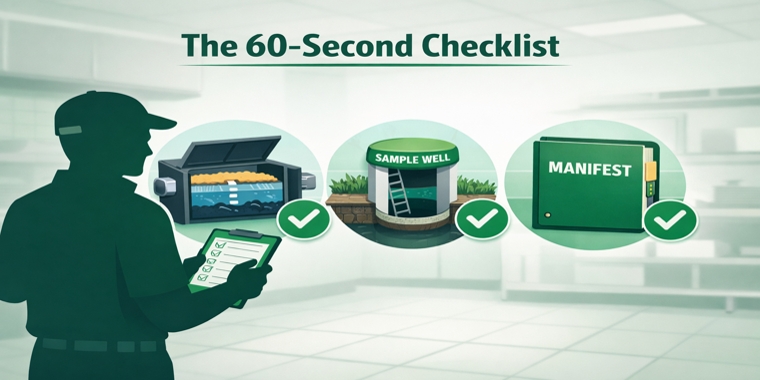
A 15-Minute Pre-Audit Self-Check
Don’t wait for an inspector to discover problems. Run this quick check once a month—pick a consistent day, like the first Monday—and you’ll catch issues before they become violations.
Monthly Documentation Review
Open your compliance binder and verify:
- Is your permit current and clearly visible in the first tab?
- Do you have a manifest for the most recent service?
- Are there any gaps in the last 12 months? (You should have at least four manifests if you’re on a quarterly schedule)
- Is each manifest signed and stamped by the disposal facility?
If you find gaps, flag them immediately and contact your service provider for duplicate copies.
Schedule Verification (3 minutes)
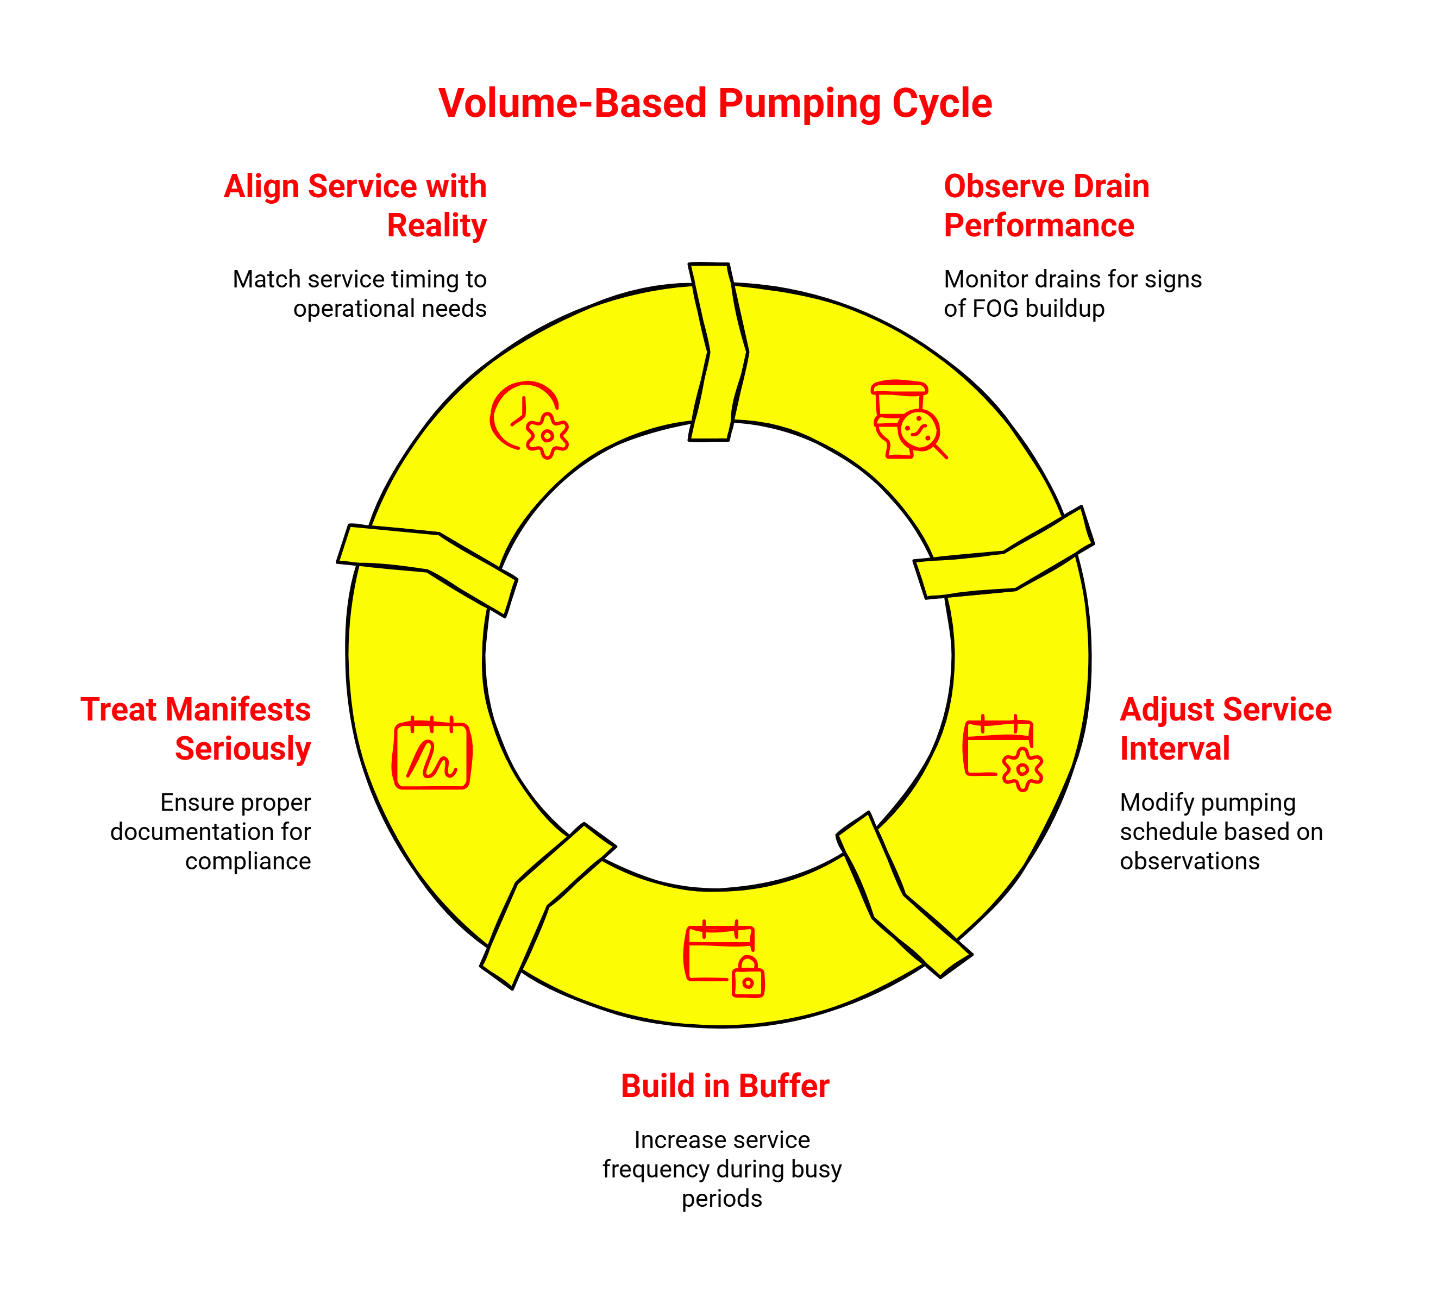
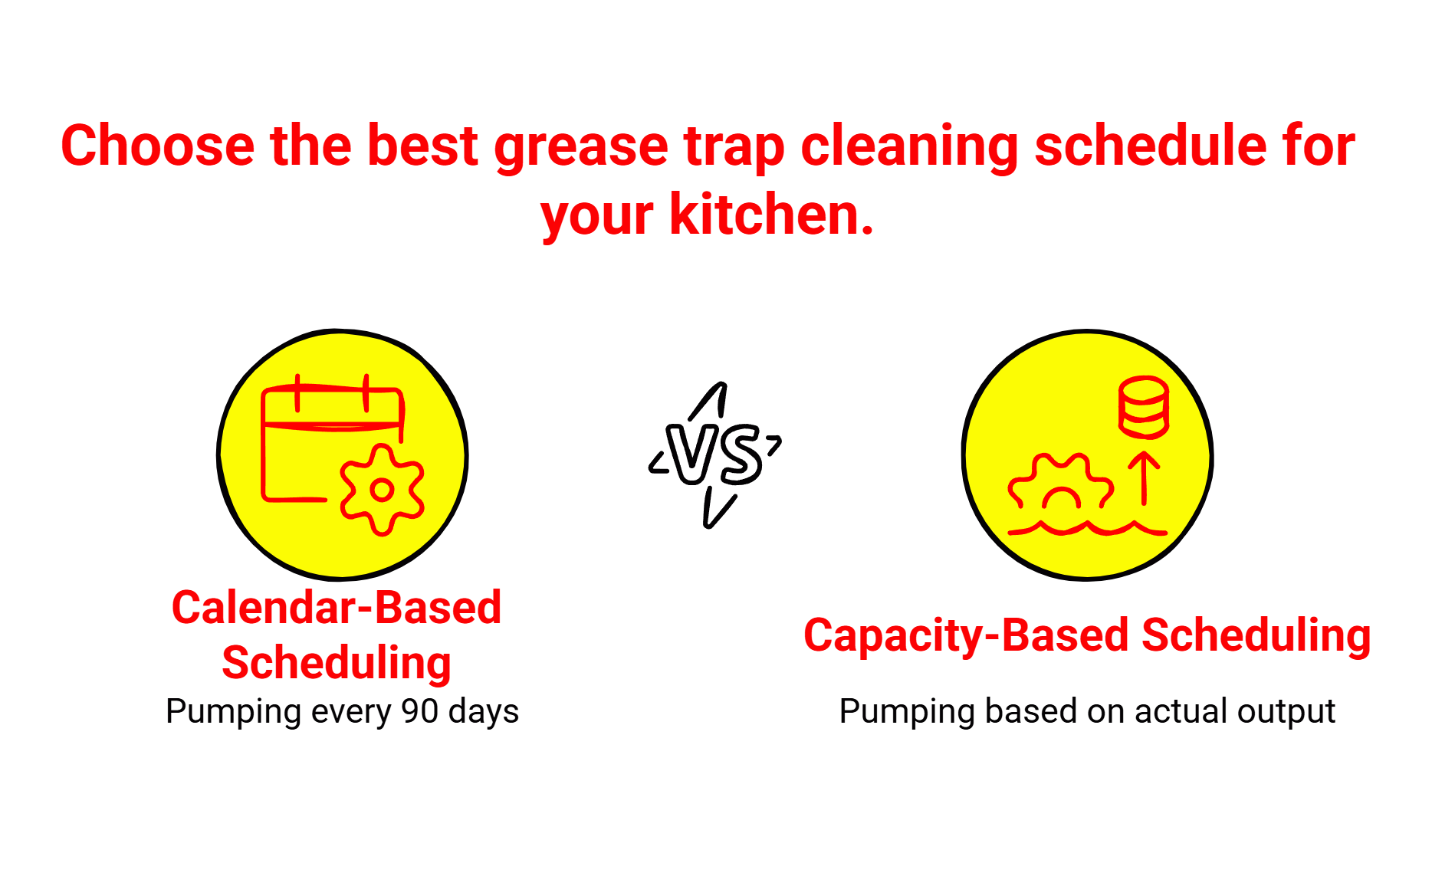
Check the date of your last service against your cleaning schedule. Section 47-512(b) of the City of Houston Code of Ordinances mandates that every interceptor located within the incorporated City limits must be fully evacuated at least on a quarterly basis (every 90 days) unless a Notice of Waiver application is submitted and approved.
Count the days since your last pump-out. If you’re approaching 90 days, schedule service now—don’t wait until you’re overdue.
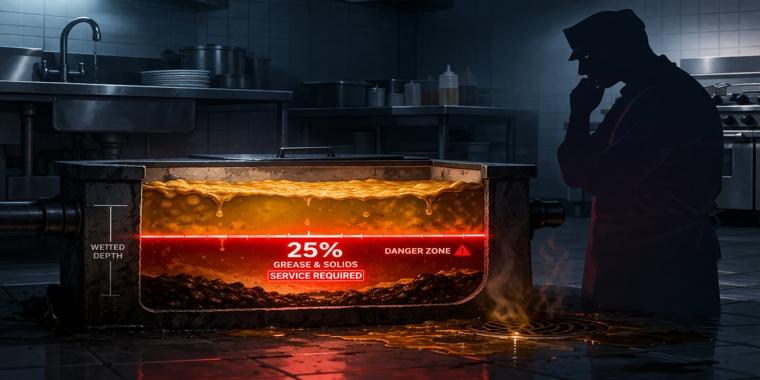
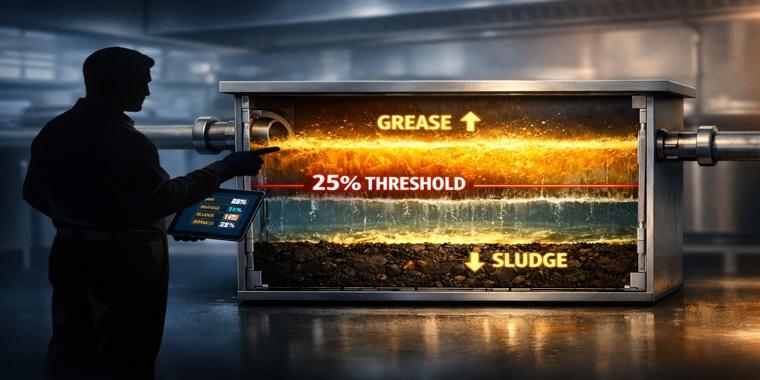
Also check the 25% rule: if grease accumulation reaches 25% of the trap’s wetted height before your scheduled cleaning, you need service sooner regardless of timing.
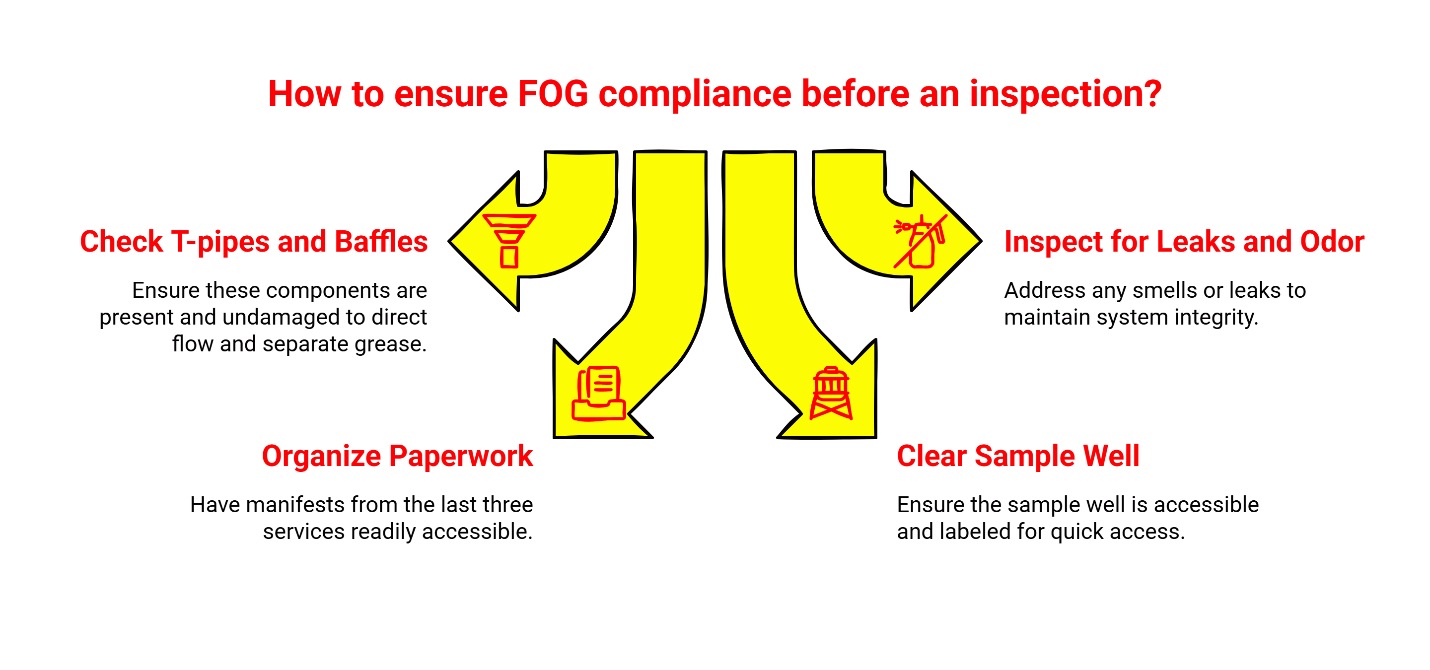
Physical Access Check (7 minutes)
Walk out to your grease trap and verify:
- Can you reach the lid without moving equipment, pallets, or stored materials?
- Is the sample well accessible for inspection?
- Is the area around the trap reasonably clean and maintained?
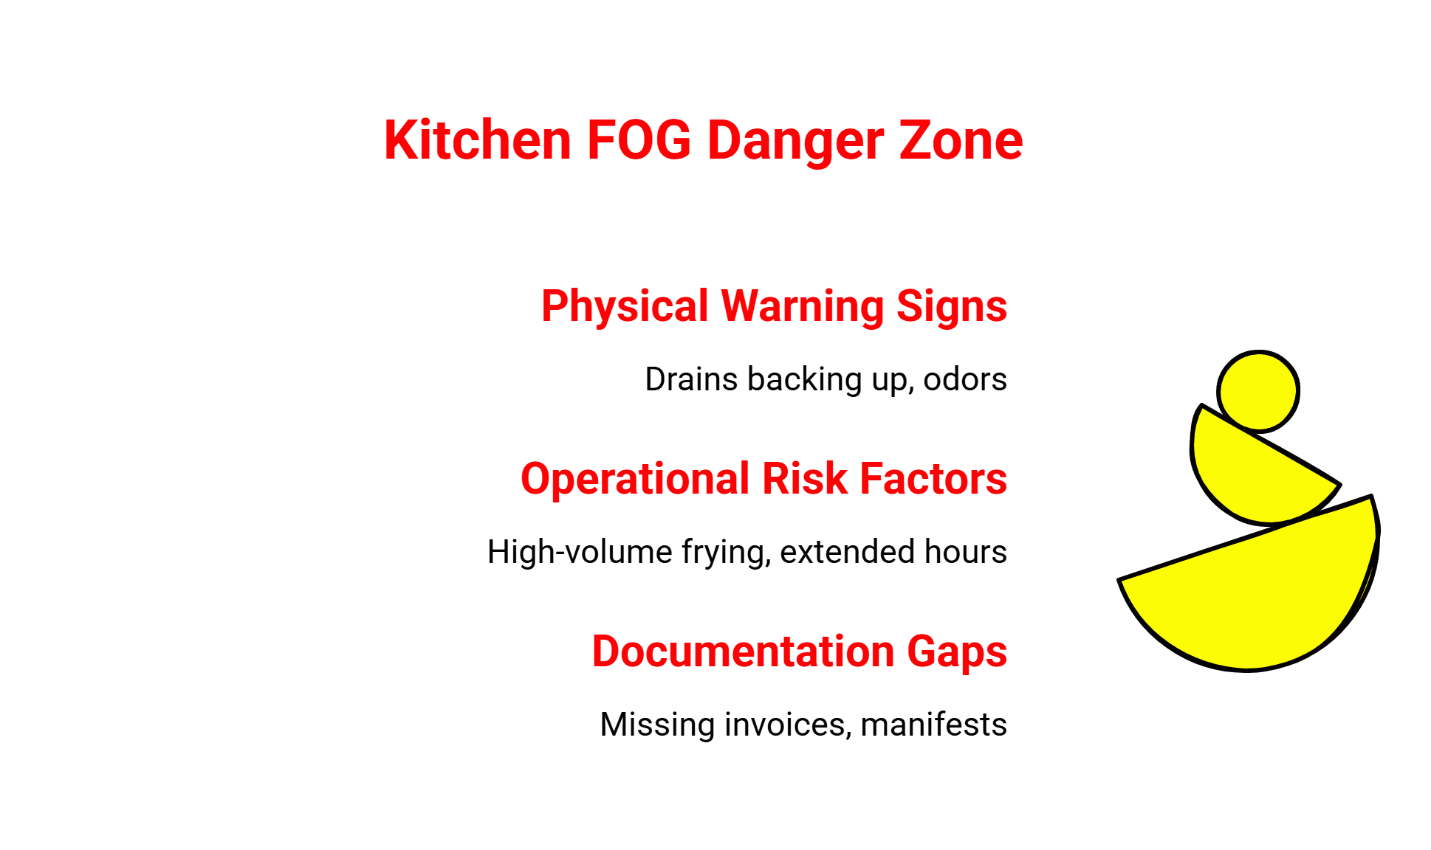
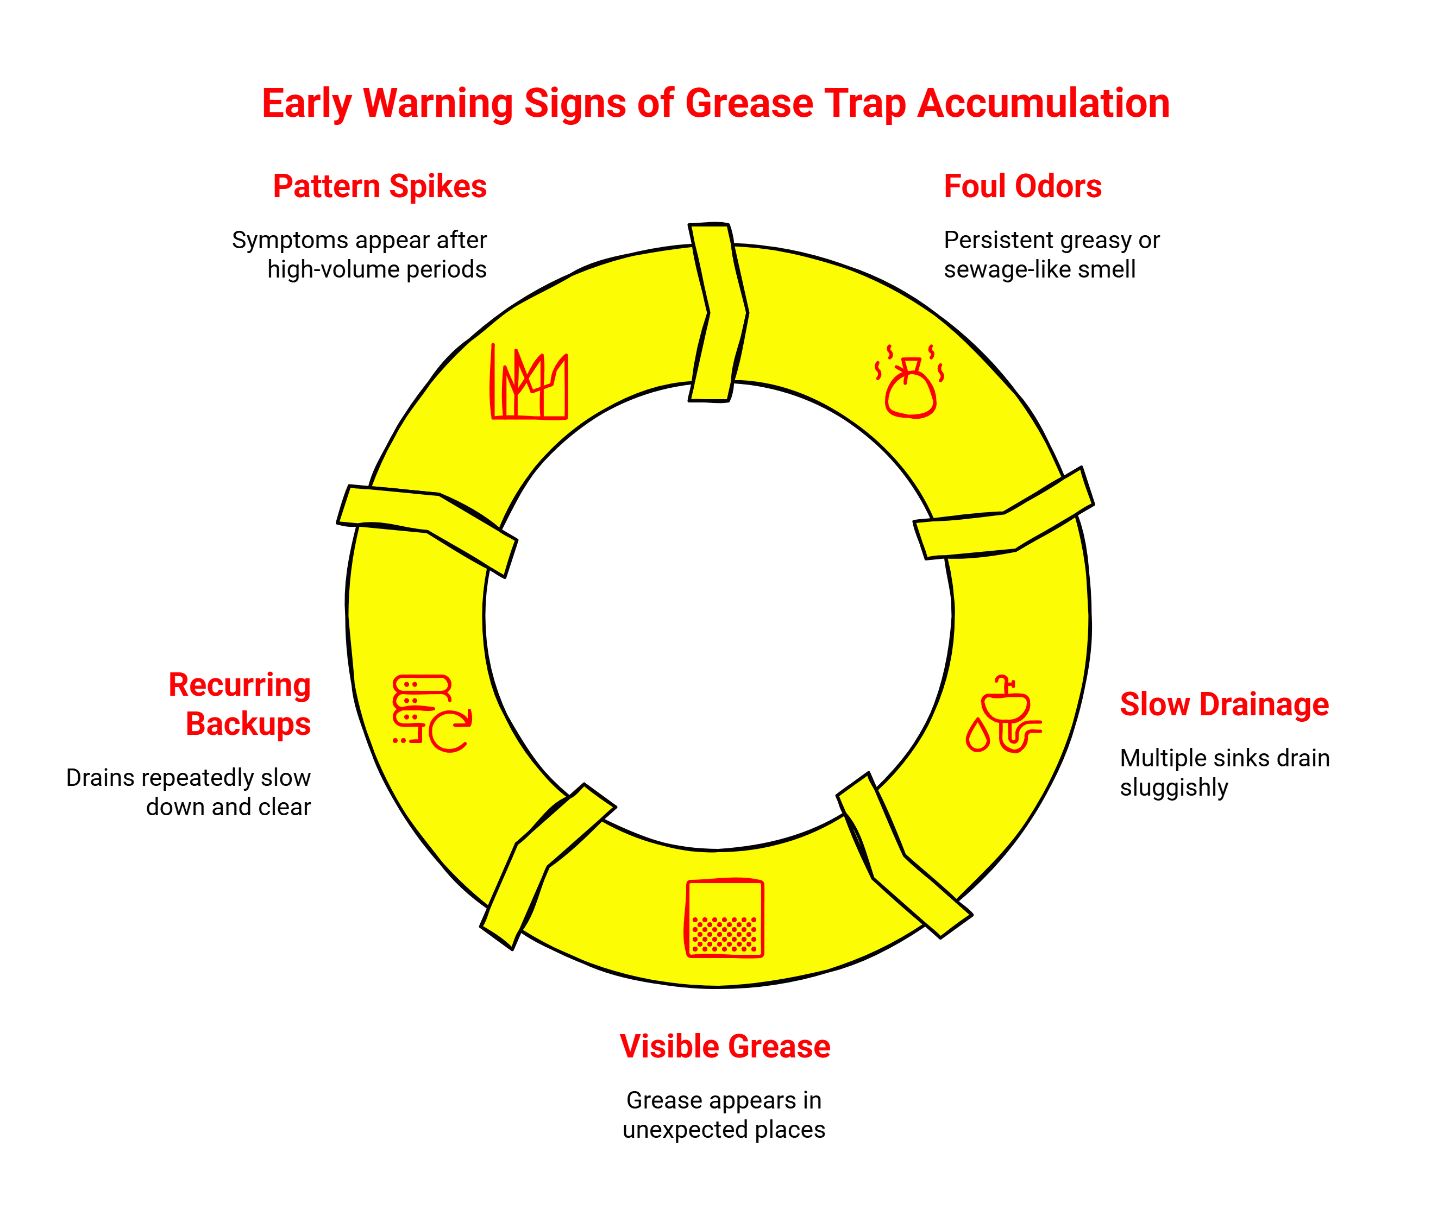
- Are there any visible signs of overflow or damage?
Inspectors won’t wait while you move a dumpster or clear a path. Access must be immediate.
For a complete walkthrough of what to expect, see How to Prepare Your Kitchen for a City of Houston Grease Trap Inspection.
If You’re Missing Records or Received a Warning: A Fast Recovery Plan
Discovering gaps in your documentation is stressful. Receiving a citation is worse. But both situations are recoverable if you act quickly and systematically.
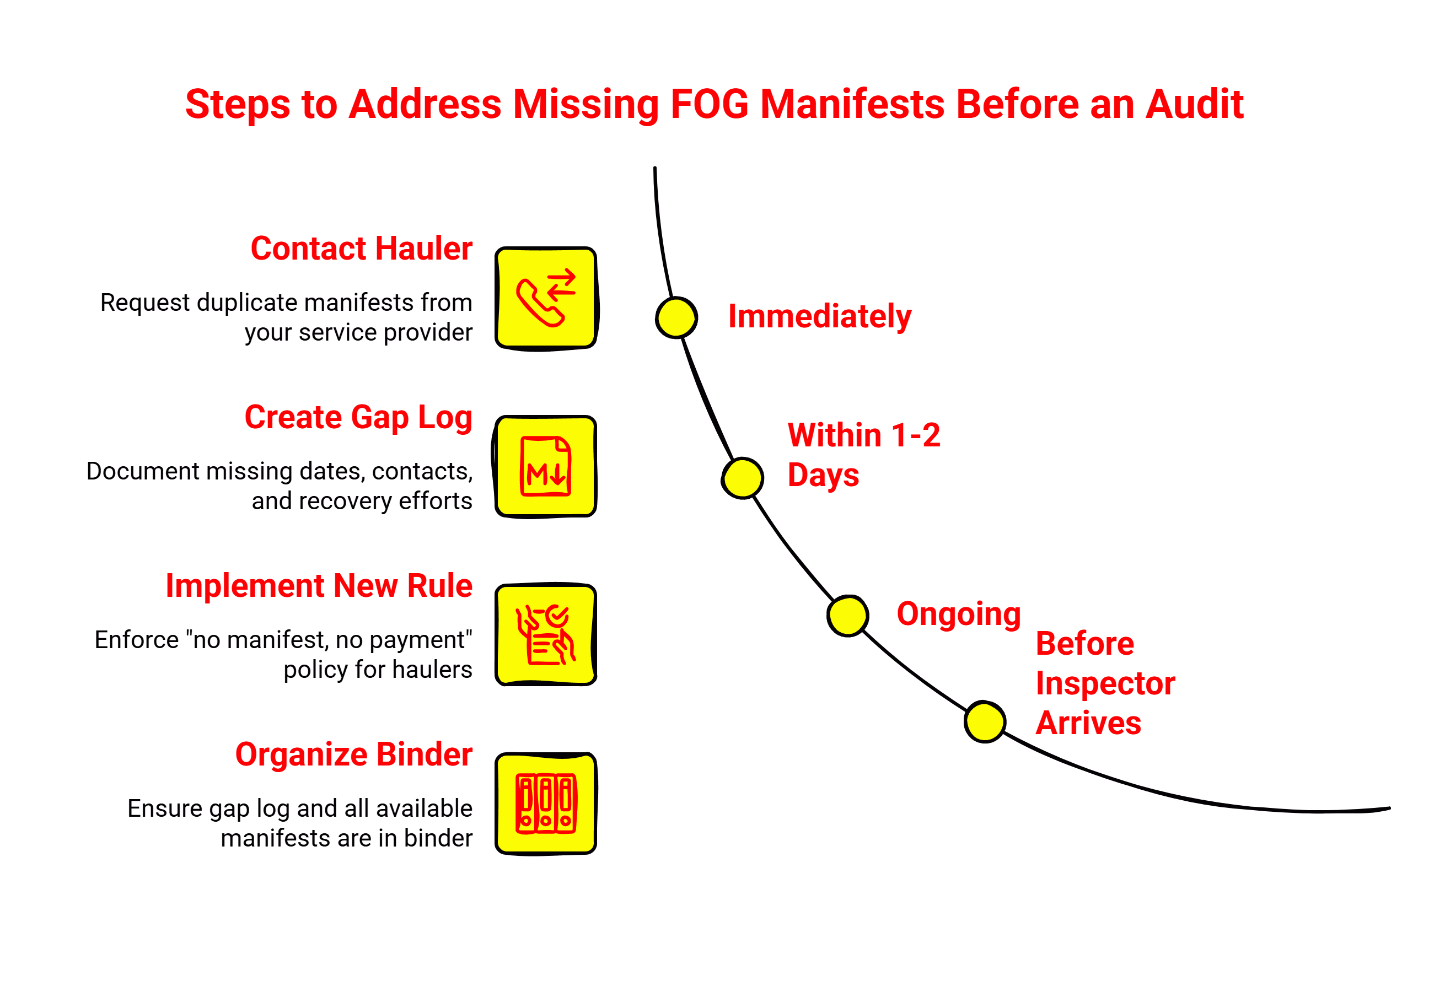
Request Duplicate Manifests Immediately
Your service provider and the disposal facility both keep copies of manifests. Contact them and request duplicates for any missing dates. Be specific about which service dates you need documentation for.
Most reputable vendors maintain records and can provide copies within a few business days. If your vendor can’t produce documentation for services they claim to have performed, that’s a significant red flag about their legitimacy.
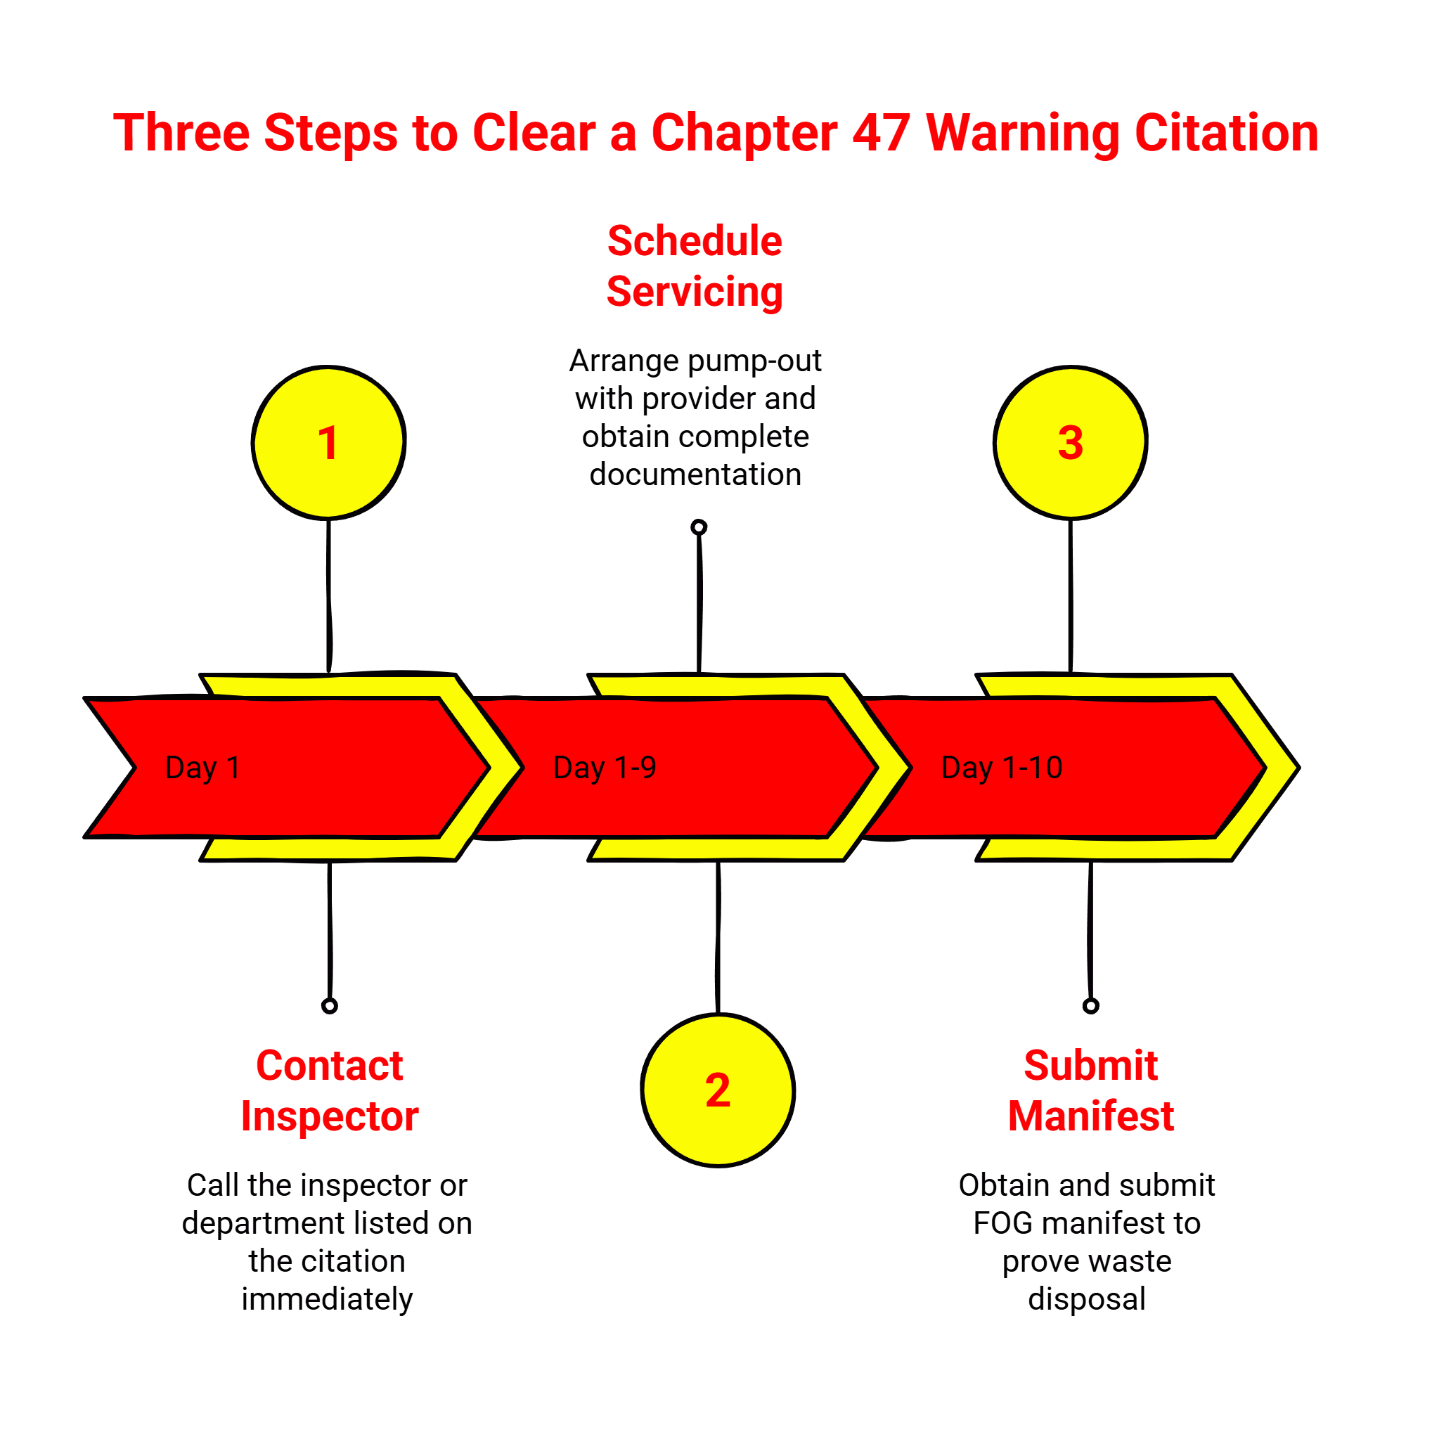
Book Service Now If You’re Overdue
If you’re past your 90-day window, schedule service immediately. Don’t wait another week hoping the inspector doesn’t show up. Get current, get the manifest, and file it.
If you’re dealing with an active backup risk or an urgent compliance situation, use emergency grease trap service rather than hoping the problem stays quiet.
Create a Gap Summary (Without Inventing Data)
For periods where you genuinely cannot locate documentation—perhaps you changed vendors, or records were lost in a move—create a written summary explaining the gap. Note:
- The time period affected
- What efforts you made to locate the records
- What corrective actions you’ve taken
This doesn’t make the gap disappear, but it demonstrates good faith effort to maintain compliance. Inspectors have discretion, and documented efforts to correct problems are viewed more favorably than denial or indifference.
Responding to a Citation
If you’ve received a Notice of Violation or citation, don’t ignore it. Review the specific violations cited, gather any documentation that supports your compliance, and respond within the timeframe specified. Consider consulting with an attorney if violations are severe or you disagree with the findings.
For guidance on handling emergency situations that could lead to violations, see When a Backup Threatens Your Business: A Houston Restaurant’s Emergency Response Plan for Grease Trap Failures.
How to Choose a Vendor Who Keeps You Audit-Proof
Your grease trap service provider is a compliance partner, not just a pump truck. The right vendor makes audits simple. The wrong one creates liability.
Questions to Ask Before You Hire
“Do you provide City of Houston-approved manifests with every service?”
The answer must be yes, without hesitation. If they offer “receipts” or “service tickets” instead, keep looking.
“Does your manifest include disposal facility verification?”
You need that stamp proving where the waste went. Incomplete manifests don’t satisfy city requirements.
“Will you help me obtain duplicate records if I lose a manifest?”
Things happen. A vendor who maintains good records and will assist with replacements is valuable.
“Do you offer proactive scheduling reminders?”
The best vendors track your 90-day cycle and contact you before you’re due, not after you’ve missed the deadline.
Red Flags to Watch For
- Only provides receipts or invoices, not proper manifests
- Vague about where waste is disposed
- Inconsistent or incomplete paperwork from service to service
- No permit decals visible on their vehicles
- Significantly cheaper than other vendors (they may be cutting corners on disposal)
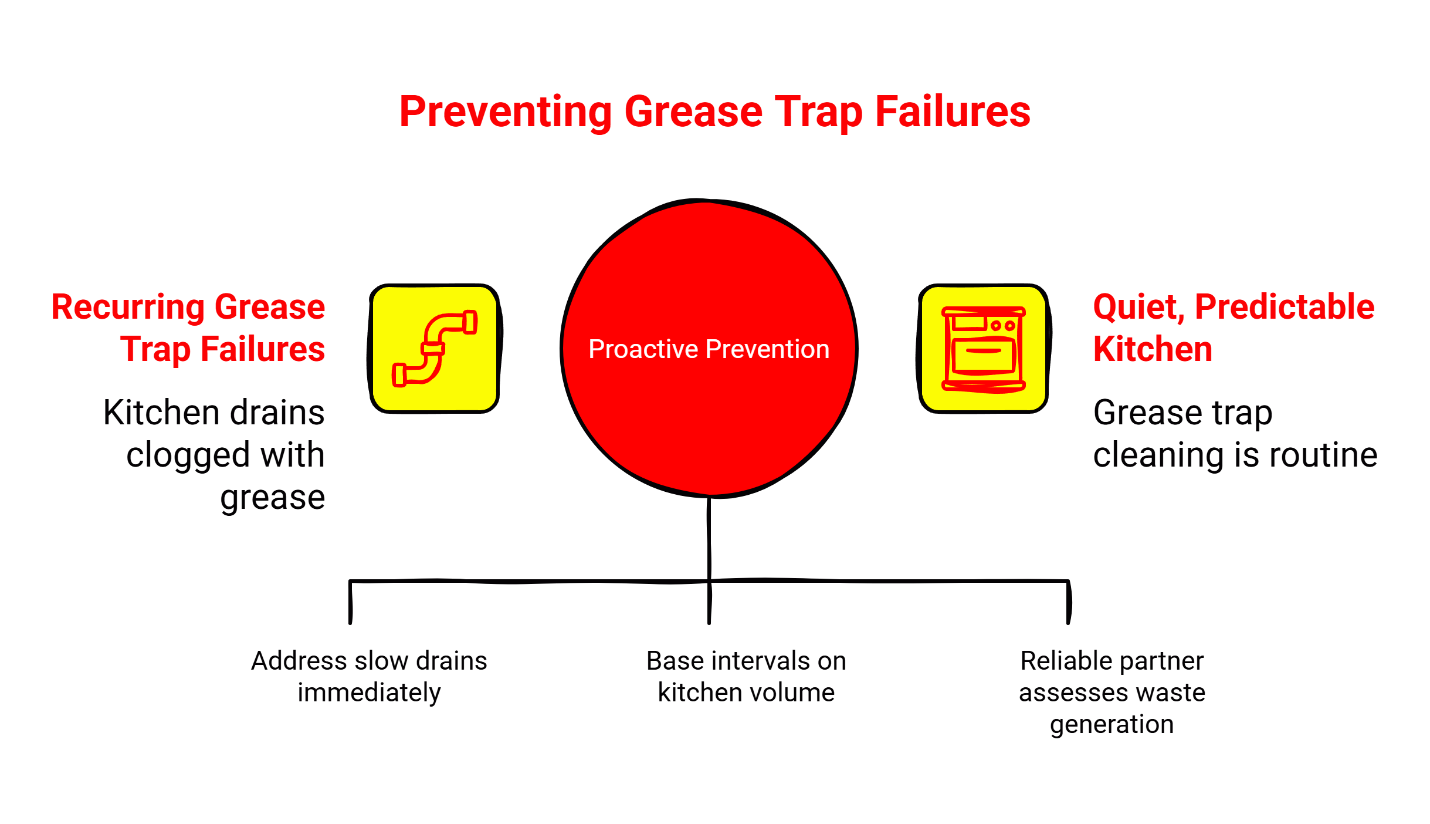
Why Proactive Scheduling Beats Emergency Scrambling
Vendors who remind you when service is due help you stay ahead of compliance deadlines. This is far better than realizing you’re overdue when an inspector arrives or when your trap backs up during dinner service.
“My experience with Drane Ranger was a very organized, professional and on time experience. I was kept informed of what was happening and a suggested time of cleaning again. I will use them again and will definitely recommend them to anyone I speak with.” — Harold R.
A vendor who communicates clearly and keeps you on schedule is protecting your business, not just pumping your trap. Since 1985, Drane Ranger has focused on customer service and outstanding work—trained, certified, and committed to obeying the rules and regulations around the industry. As an accredited member of the Better Business Bureau, Drane Ranger is committed to providing the best experience for every client.
For grease trap cleaning and compliant waste removal in the Houston area, look for these qualities in any provider you consider. You can also review The Official Houston Restaurant FOG Compliance Checklist to ensure your overall compliance program is complete.
Frequently Asked Questions
How long do I need to keep grease trap manifests in Houston?
Five years, with documents available on-site for inspection. Both your copy (generator copy) and any returned copies should be kept. Digital backups are smart but don’t replace the requirement for physical copies during an inspection.
What’s the difference between a grease trap invoice and a manifest?
An invoice proves you paid for service. A manifest proves the waste was removed and legally disposed of at an approved facility, with chain-of-custody documentation including transporter information and disposal facility verification. Inspectors require manifests—invoices alone don’t demonstrate compliance.
What happens if I can’t find my manifests during an inspection?
You may receive a Notice of Violation or citation. Fines can range from $250 to $2,000 per violation under Chapter 47. If you discover missing manifests before an inspection, immediately contact your service provider and disposal facility to request duplicates.
Do I need the paperwork on-site, or is digital storage enough?
Physical copies must be available on-site during an inspection. Digital storage is excellent for backup purposes but doesn’t satisfy the requirement to produce documents when an inspector requests them. Keep a compliance binder at your restaurant.
What does an inspector usually look for first?
Inspectors typically ask for your FOG permit and recent manifests first. They verify your permit is current and that you have documentation showing regular cleaning on the required schedule. They’ll also physically check your trap and sample well.
Can my vendor provide duplicate manifests if I lost mine?
Yes, reputable vendors maintain service records and can provide duplicate manifests. The disposal facility also keeps copies. Contact both if you need to reconstruct missing documentation. If your vendor can’t produce records for services they performed, consider that a serious warning sign.
What should I do the day I receive a warning or citation?
Don’t ignore it. Review the specific violations cited, gather any supporting documentation you have, and respond within the required timeframe. If you’re overdue for service, schedule it immediately. Document your corrective actions in writing. For significant violations, consulting with an attorney may be appropriate.
Turn Every Pump-Out Into a Legal Defense File
The inspector’s clipboard doesn’t have to trigger panic. When your manifests are organized, your permit is current, and your trap is accessible, an audit becomes a five-minute verification—not a crisis.
The system is straightforward: keep five years of manifests in a tabbed binder, run a monthly self-check, and work with a vendor who provides complete documentation every time. That’s it. No complex software, no expensive consultants, no stress.
Remember the core principle: your manifests are the tax return for your waste. They prove compliance when the city asks. Without them, you’re exposed—regardless of how clean your trap actually is.
If you’re not currently receiving proper manifests, or if you have gaps in your documentation, address it now. Don’t wait for an inspection to reveal the problem.
“Drain Ranger is very professional and reliable. Basically they can take care of all your grease drain needs.” — Shelley M.
For grease trap cleaning in Houston with complete, audit-ready documentation, contact Drane Ranger at 281-489-1765. We’ve been helping Houston-area restaurants stay compliant since 1985—trained, certified, and committed to doing the job right.
Start Your Service Today: Call 281-489-1765 | Mon-Fri, 9am-6pm
Request a Free Compliance Assessment: Contact Us
Disclaimer: This content is for informational purposes only and does not constitute legal advice. Regulations and enforcement practices can change. Always confirm current requirements with the applicable City of Houston ordinance language and/or the inspecting authority.
Our Editorial Process:
The Drane Ranger Insights Team turns compliance-heavy topics into practical, plain-English guides. We draft using publicly available regulatory guidance and real-world field experience, then review for clarity and operational usefulness so restaurant operators can act immediately.
By: The Drane Ranger Insights Team
Drane Ranger Vacuum Service — Satisfying customers since 1985. BBB Accredited Member.